用LeafCutter探索转录组数据的可变剪切
该软件早在2016年就公布了,发表在biorxiv预印本上面,但直到2017年的双11,才发表在NG上面,文章是 : Annotation-free quantification of RNA splicing using LeafCutter 最大的特点应该是不需要参考基因组的基因注释信息了吧,就是gtf/gff文件可以省略,当然,比对还是需要的。它还有另外一个非常重要的功能,splicing quantitative trait loci (sQTLs) 但是跟我目前关系不大, 就不介绍了。
背景介绍
LeafCutter workflow.
- First, short reads are mapped to the genome. When SNP data are available, WASP should be used to filter allele-specific reads that map with a bias.
- Next, LeafCutter extracts junction reads from.bam files, identifies alternatively excised intron clusters, and summarizes intron usage as counts or proportions.
- Finally, LeafCutter identifies intron clusters with differentially excised introns between two user-defined groups by using a Dirichlet-multinomial model, or maps genetic variants associated with intron excision levels by using a linear model.
作者在Genotype-Tissue Expression (GTEx) Consortium数据集上面测试了,并且把结果跟 GENCODE v19, Ensembl, and UCSC 着3大主流的基因注释信息数据库比较。还在其它数据库里面验证了,数据下载地址是:dbGaP under accession phs000424.v6.p1 (GTEx), GEO under accession GSE41637 (RNA-seq data from mammalian organs), and ENA under accession PRJEB3366 (Geuvadis).
软件下载地址:
- LeafCutter software, https://github.com/davidaknowles/leafcutter;
- LeafViz visualizations, https://leafcutter.shinyapps.io/leafviz/;
- rheumatoid arthritis summary statistics, http://plaza.umin.ac.jp/yokada/datasource/software.htm.
软件安装及使用
最简单的就是conda进行安装了:
conda install -c davidaknowles r-leafcutter
如果安装失败,可能需要单独为它创建一个环境。
不过,它本身就是一个R包,所以在个人电脑里面的rstudio里面安装即可。
if (!require("devtools")) install.packages("devtools", repos='http://cran.us.r-project.org')
devtools::install_github("davidaknowles/leafcutter/leafcutter")
但是源代码里面有一些脚本和测试数据,所以还是要下载看看
mkdir -p ~/biosoft
cd ~/biosoft
git clone https://github.com/davidaknowles/leafcutter
cd leafcutter
## 需要修改里面的一个脚本 scripts/bam2junc.sh 把软件路径增添进去即可
里面又是perl又是python的,感觉他们团队开发环境不统一。
第一步:bam2junc
比对一般来说,优先选择STAR等支持跨越内含子的转录组比对工具得到bam文件,运行下面的脚本即可进行批量转换:
cat bam_path.txt |while read id
do
file=$(basename $id )
sample=${file%%.*}
    echo Converting $id to $sample.junc
    sh /public/biosoft/leafcutter/scripts/bam2junc.sh  $id $sample.junc
done
得到的junc文件如下:
chr7    134840725   134843893   .   1   -
chr2    234355442   234355737   .   1   +
chr4    37828435    37831585    .   13  +
chr19   39101772    39101882    .   5   +
chr11   109735445   109827551   .   19  +
chr18   48458730    48465939    .   8   -
chr12   82751048    82752457    .   12  -
chr15   51018323    51018517    .   14  -
chr1    247323115   247335149   .   2   +
chr10   92920631    92982445    .   1   +
这个步骤有点耗时,所有的junc文件地址需要保存给下一步使用
第二步:Intron clustering
这个步骤,需要python2.7版本,这个是python的一个大坑,到现在版本仍然不统一。
ls *.junc >test_juncfiles.txt
python /public/biosoft/leafcutter/clustering/leafcutter_cluster.py -j test_juncfiles.txt -m 50 -o testYRIvsEU -l 500000
几分钟就运行完毕。
得到的比较重要的文件如下:
1.3M Jan  4 17:45 testYRIvsEU_perind.counts.gz
680K Jan  4 17:45 testYRIvsEU_perind_numers.counts.gz
5.0M Jan  4 17:45 testYRIvsEU_pooled
540K Jan  4 17:45 testYRIvsEU_refined
 877 Jan  4 17:45 testYRIvsEU_sortedlibs
 854 Jan  4 17:43 test_juncfiles.txt
值得注意的是 testYRIvsEU_perind_numers.counts.gz 文件,里面每一行都是一个内含子,每一列都是一个样本,写明了它们的表达值,这些数值就可以用来做可变剪切分析。
 #  zcat testYRIvsEU_perind_numers.counts.gz |tail
chr8:145651155:145651305:clu_6538 21 14 19 8 9 0 13 33 0 0 4 0 5 8 12 0 12 34 15 0 0 10 11
chr8:145651155:145651409:clu_6538 1021 611 186 190 294 284 681 89 222 57 257 363 694 807 523 44 469 812 926 71 80 260 214
chr8:145652362:145653872:clu_6539 1265 694 132 74 302 71 178 34 44 12 63 122 230 218 472 6 146 1421 1084 16 14 83 46
chr8:145652654:145653872:clu_6539 48 24 56 0 26 0 13 0 2 5 2 0 3 19 17 0 2 8 64 0 0 3 0
chr8:145652674:145653872:clu_6539 18 26 0 0 0 7 2 0 5 0 0 0 1 6 11 0 3 34 37 0 0 9 6
chr8:146017525:146017630:clu_6540 2 3 44 0 2 12 4 0 0 0 22 5 9 10 2 0 1 9 11 0 0 1 0
chr8:146017525:146017751:clu_6540 1067 671 620 41 295 347 224 89 62 33 262 136 229 223 356 17 288 480 1842 9 35 70 23
chr8:146076780:146078224:clu_6541 18 3 0 0 17 17 8 0 0 3 2 3 16 6 12 0 4 45 29 9 0 10 2
chr8:146076780:146078378:clu_6541 22 17 0 0 0 3 1 0 0 0 3 2 15 7 2 0 7 62 55 0 0 4 0
chr8:146076780:146078757:clu_6541 10 1 16 0 12 52 0 0 11 0 24 9 27 3 0 0 7 0 28 0 0 2 0
第三步:制作分组矩阵进行差异分析
避免暴露我真实的项目,这里就给作者的示例文件吧:
RNA.NA18486_YRI.chr1.bam YRI
RNA.NA18487_YRI.chr1.bam YRI
RNA.NA18488_YRI.chr1.bam YRI
RNA.NA18489_YRI.chr1.bam YRI
RNA.NA18498_YRI.chr1.bam YRI
RNA.NA06984_CEU.chr1.bam CEU
RNA.NA06985_CEU.chr1.bam CEU
RNA.NA06986_CEU.chr1.bam CEU
RNA.NA06989_CEU.chr1.bam CEU
RNA.NA06994_CEU.chr1.bam CEU
很简单的两列文件,说明每一个样本属于哪个组即可。
 /public/biosoft/leafcutter/scripts/leafcutter_ds.R --num_threads 4 \
 --exon_file=/public/biosoft/leafcutter/leafcutter/data/gencode19_exons.txt.gz \
testYRIvsEU_perind_numers.counts.gz group_info.txt
这里的group_info.txt 就是自己制作好的分组矩阵。值得提醒的是,上面的文件有且只能有2个分组,这样软件才知道怎么样去比较,如果自己的分组很多,可以考虑制作多个分组文件,运行多次。
当然,上面的脚本已经没有必要在linux服务器里面运行啦。
既然有了内含子的表达矩阵,又有了分组信息,差异分析根本就不会消耗多少计算资源,全部下载到自己的电脑里面去做吧。
自己打开文件 /public/biosoft/leafcutter/scripts/leafcutter_ds.R 就明白了整个流程。
也是几分钟就完成了全部结果。
Running differential splicing analysis...
Differential splicing summary:
                                             statuses Freq
1 <2 introns used in >=min_samples_per_intron samples  425
2                          <=1 sample with coverage>0   62
3               <=1 sample with coverage>min_coverage  939
4                            Not enough valid samples 3047
5                                             Success 2068
Saving results...
Loading exons from /Users/jmzeng/biosoft/leafcutter/leafcutter/data/gencode19_exons.txt.gz
All done, exiting
得到的文件里面,需要详细了解的是 leafcutter_ds_cluster_significance.txt 主要靠自己看readme啦。
第四步:可视化那些可变剪切
也是包装好的脚本。
/Users/jmzeng/biosoft/leafcutter/scripts/ds_plots.R -e /Users/jmzeng/biosoft/leafcutter/leafcutter/data/gencode19_exons.txt.gz testYRIvsEU_perind_numers.counts.gz group_info.txt leafcutter_ds_cluster_significance.txt -f 0.05
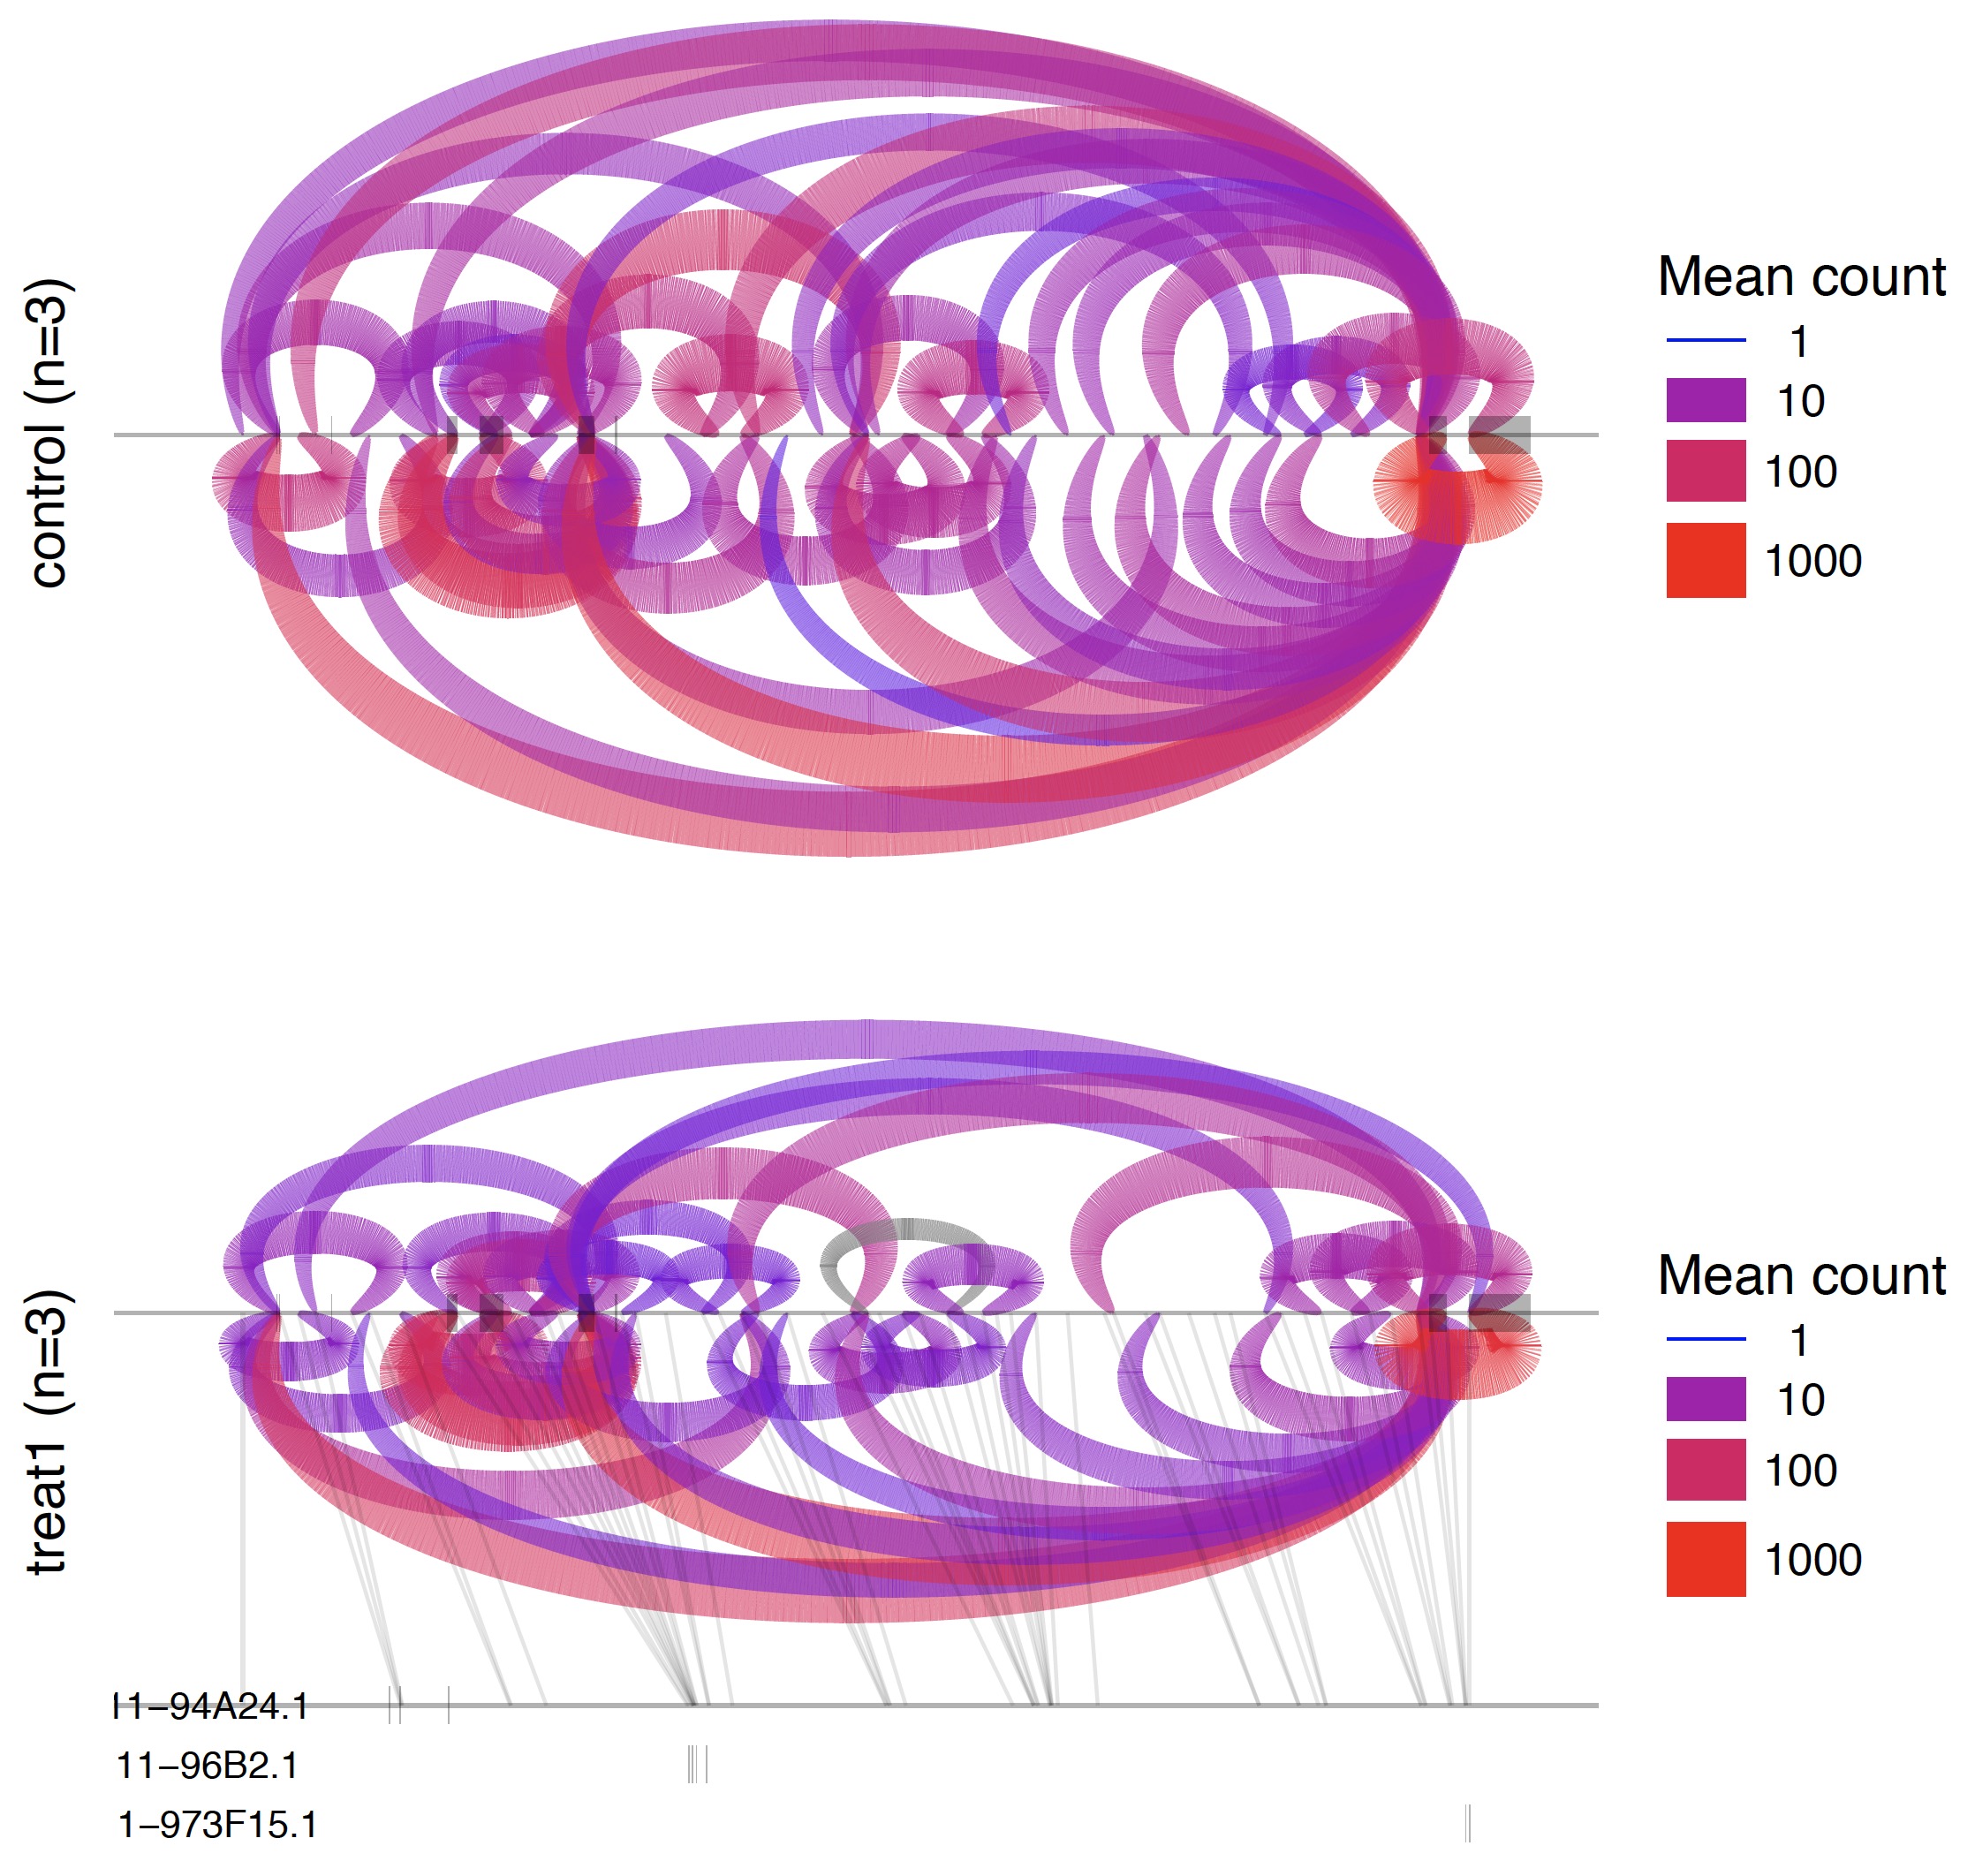
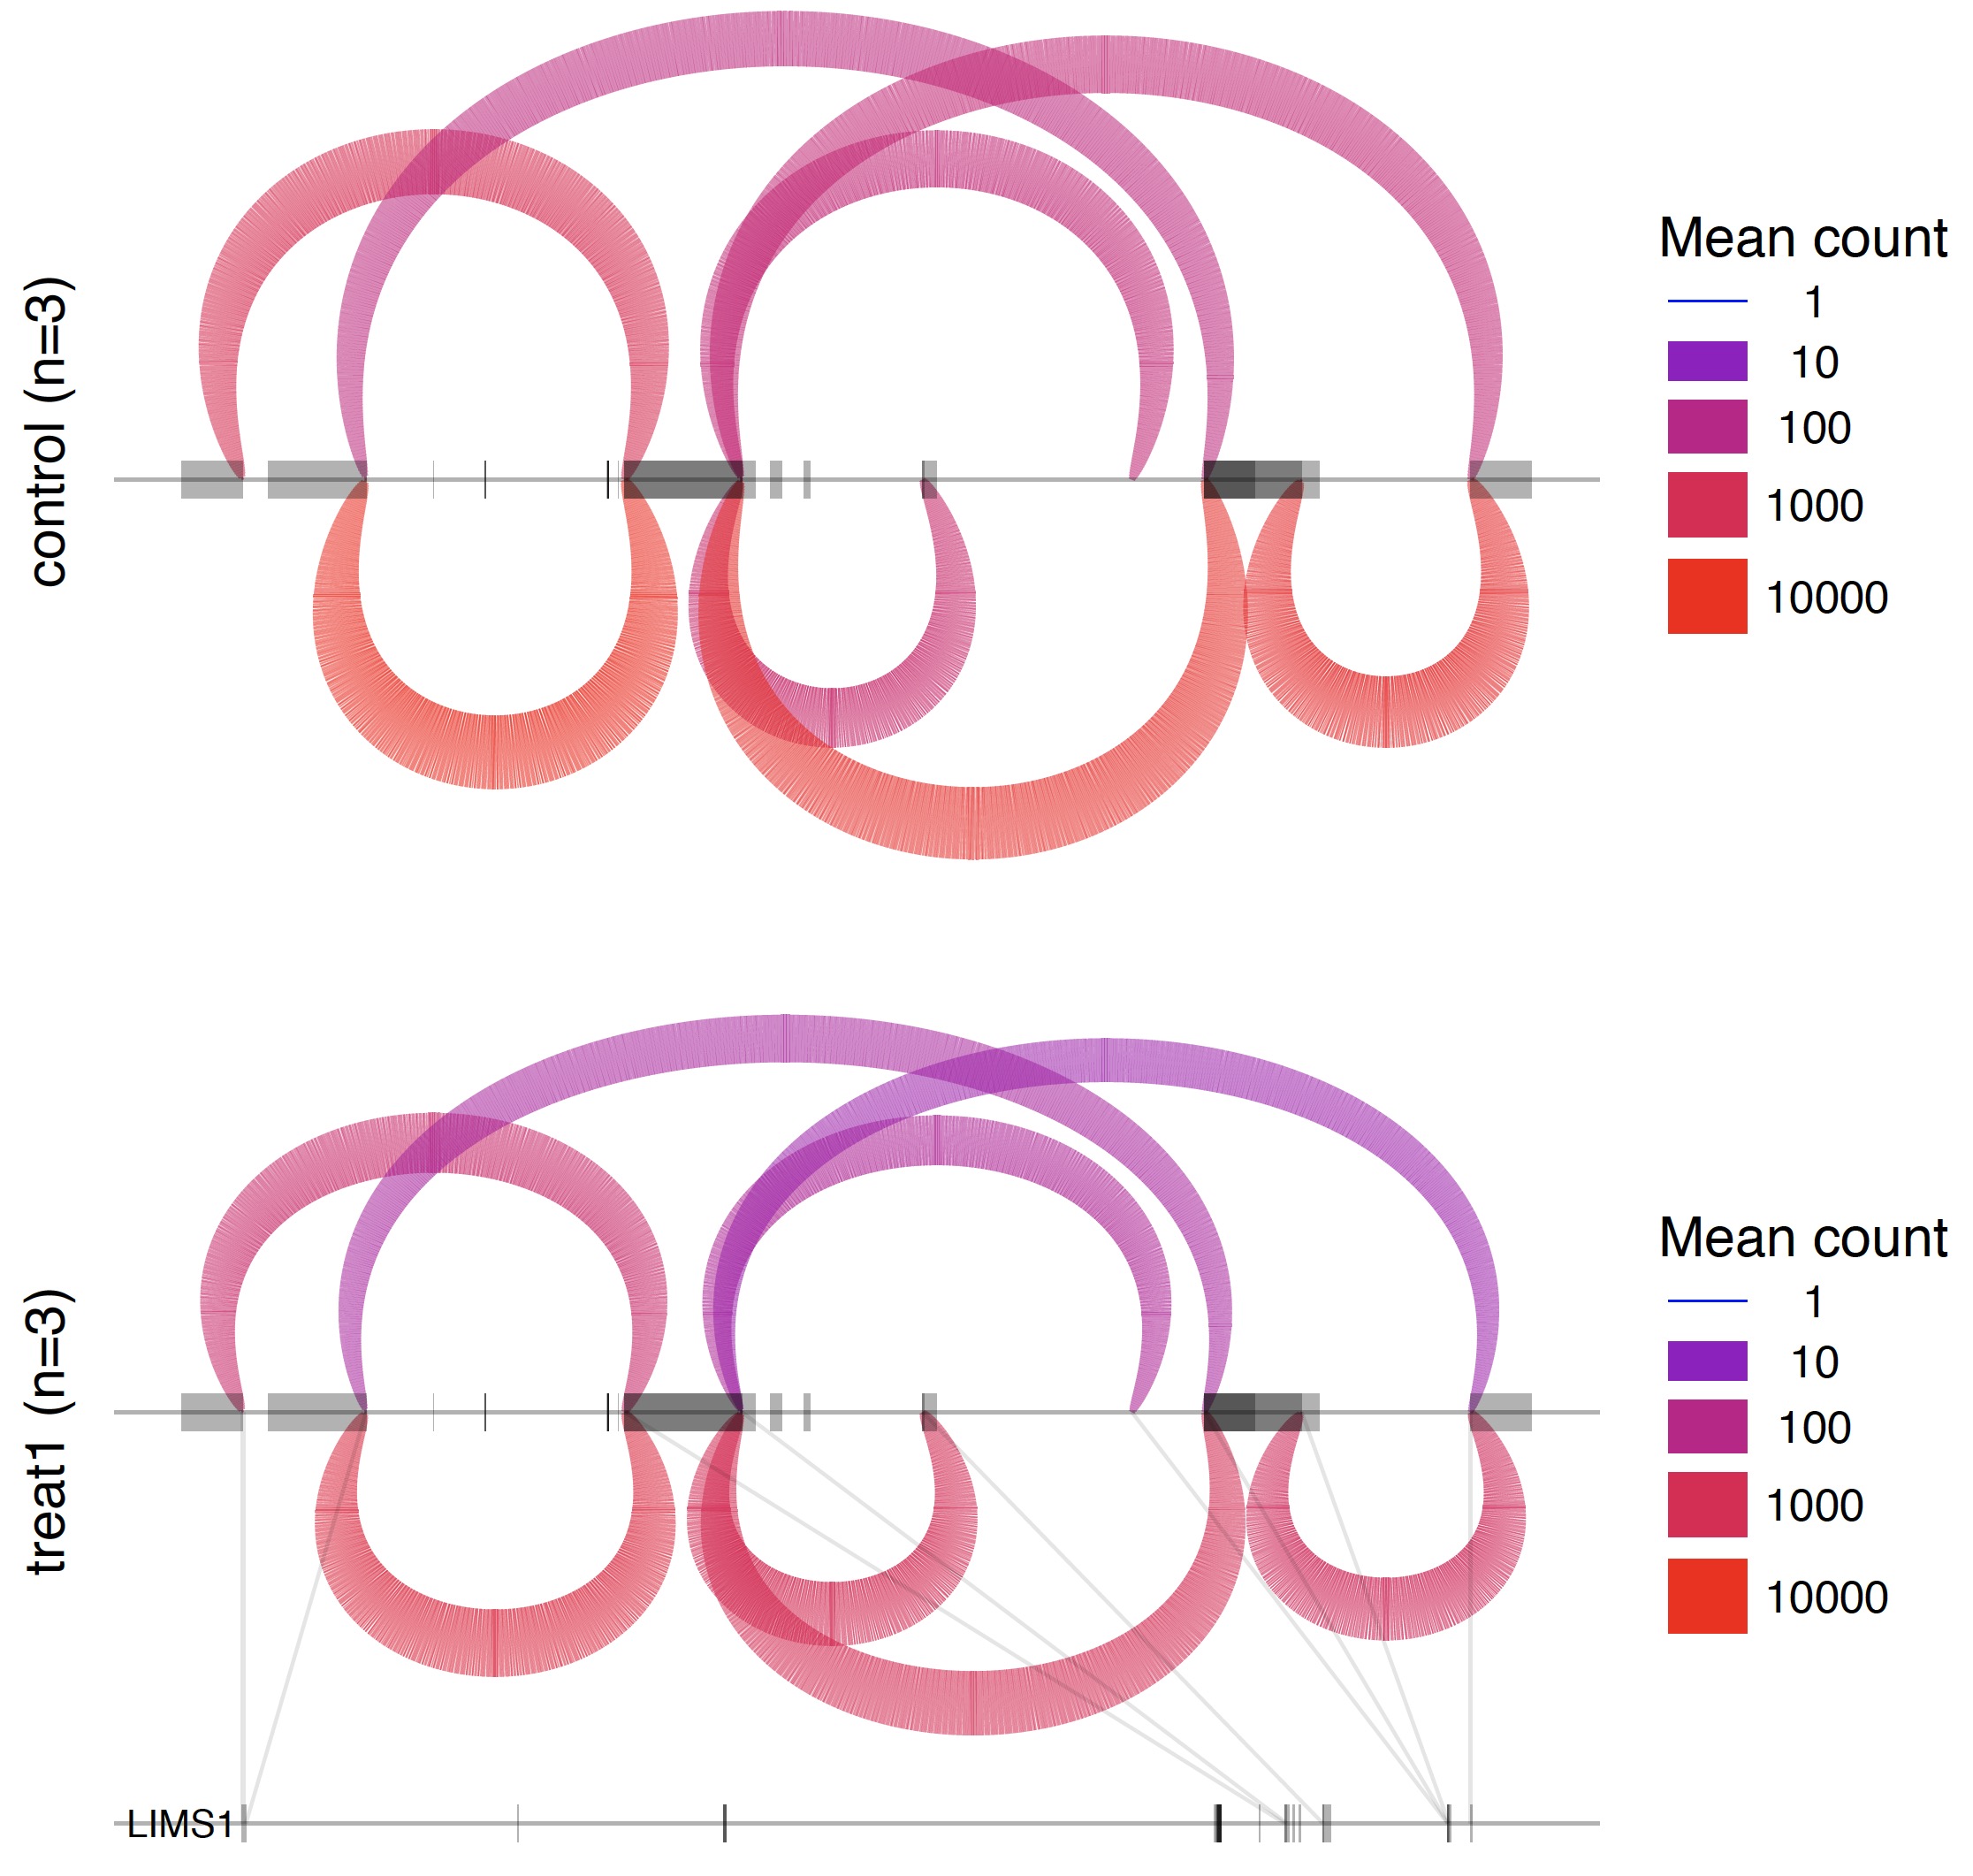
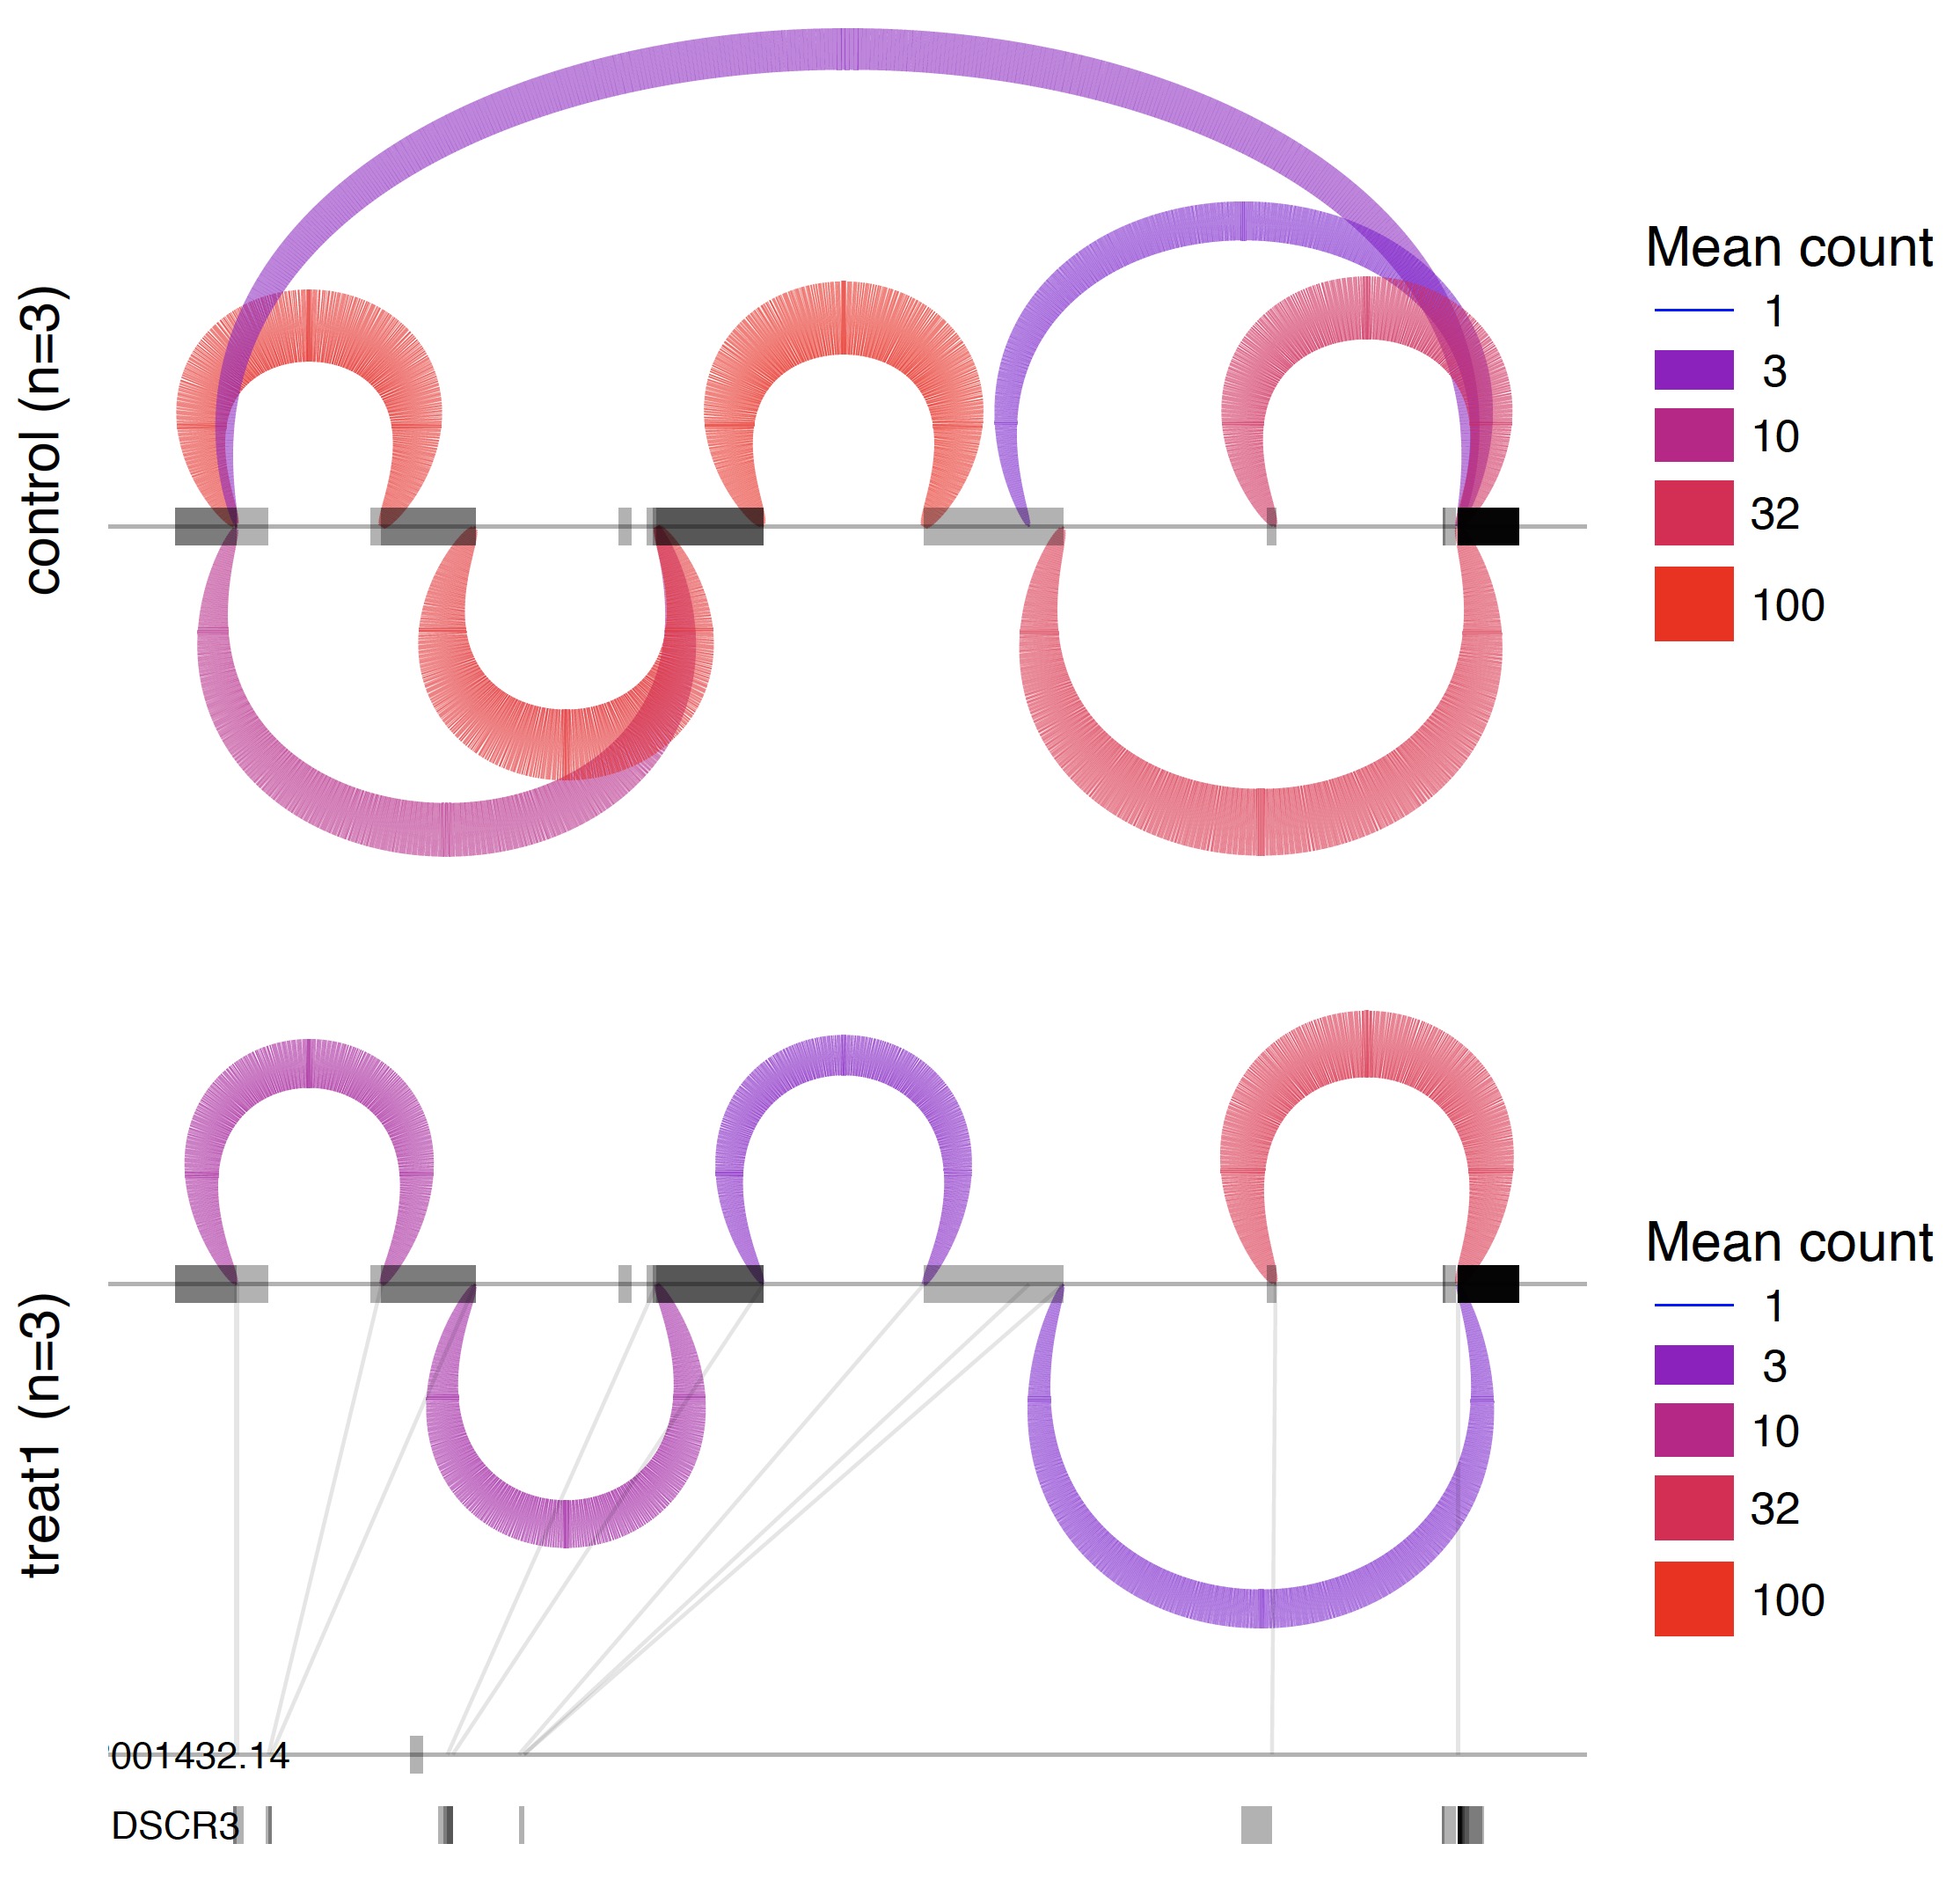
所有的可变剪切形式都会可视化在一张PDF图里面。如下:


